home-assistant.io is the latest great tool I discovered, it’s simply a beautiful piece of technology.
Open source home automation that puts local control and privacy first
I recommend installing the Hass OS on a Raspberry Pi 4 with an SD Card of at least 32GB.
Preparation
Download the system image from here based on your Raspberry Pi model.
Flash the hassos_rpi4-4.8.img.gz using Balena Etcher.
Use the Raspberry Pi 4 Model B 32bit image instead of the 64bit version
It’s as simple as selecting the Image (img.gz is fine, gets decompressed on the fly), select the volume (32GB+ SD Card or alternatively USB Stick) and click “Flash”.

Insert the SD Card and Connect the Pi to Ethernet.
Optionally, setup a CONFIG/network/my-network with your WiFi network conf in the hassos-boot partition of the SD Card
Installation
Boot up your Pi.
Wait until the installation finishes, it takes about 15-20’.
Refresh the main page at homeassistant.local:8123 and continue the setup of your Homeassistant user.
Addons
Once the main user is set up, you can install add-ons and personalize your Hass dashboard.
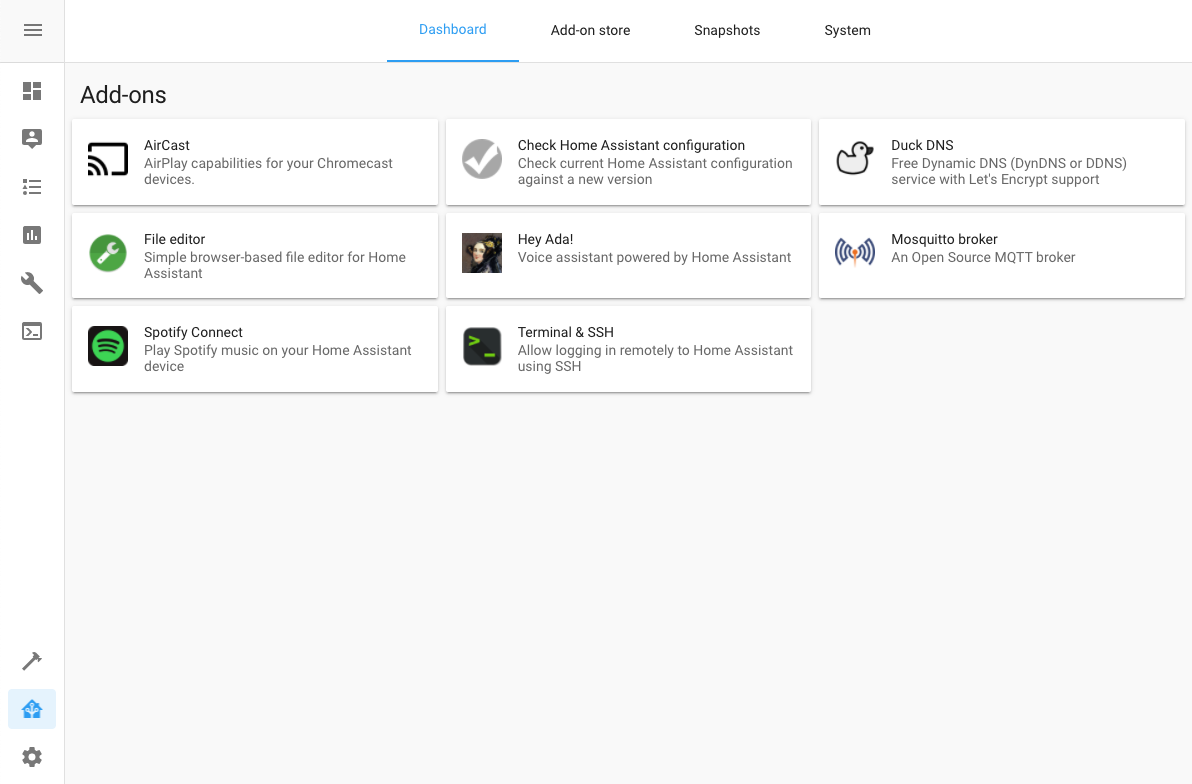
These are a few with which I’m experimenting:
- AirCast (stream audio to your Chromecast from an iOS device)
- Duck DNS (Dynamic DNS service to access your Hass dashboard outside of your home)
- File Editor (browser-based file editor)
- Hey Ada! (Privacy focused Voice assistant)
- Mosquitto Broker
- Spotify Connect (Play Spotify music on your Hass device)
- Terminal & SSH (remote login through SSH via browser)

To install some, click on “Supervisor” in the sidebar and go to “Add-on Store”
Snapshot your system config
Once set up, installed and configured your favorite add-ons, it’s best to back up your configuration.

Next steps
Configure the Dashboard at your liking.
Personally I have to find out how to interact with MQTT, connect multiple Raspberry’s and let them communicate with each other.
I also want to see the Camera I have connected to my other Raspberry Pi Zero W and have a livestream of that on the Dashboard.
That’s all! Have fun
 Chris
Chris