Chris
ChrisPlausible Analytics recently introduced Custom props for events (here the docs).
This was the perfect opportunity for me to implement an idea I had long time ago: (Privacy-friendly) Polls with Plausible Analytics!
The idea is to use Plausible’s Custom props and hook them up to a simple poll component in JavaScript!
Let’s get started 🚀
Examples
Some examples

Define name of the poll
For example “Useful” (if you want to display a satisfaction poll after an article).
Or if you want to ask your readers if they are interested in reading more about a certain topic, the name of the poll could be “More”.
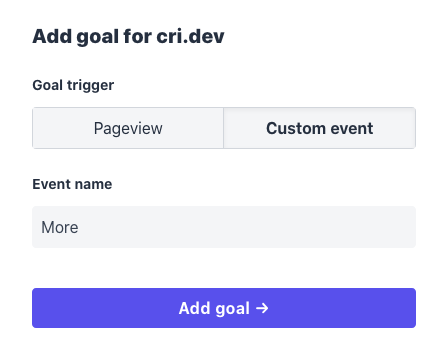
Set up in Plausible Dashboard
Head over to the settings page of your Plausible Analytics property and and add a new goal with the name of the poll.
Click on + Add goal.
Regard case-sensitivity.
Client side HTML
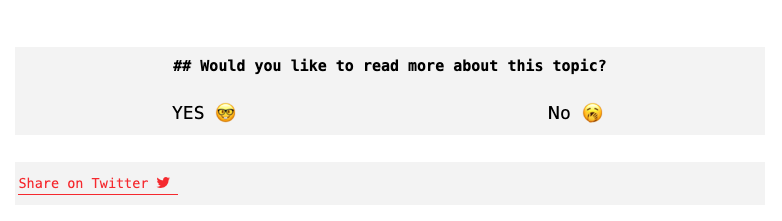
On your website, define an HTML snippet like this, where you want your poll to appear.
Style it accordingly.
<div data-poll="More">
  <h2>
    Would you like to read more about this topic?
  </h2>
  <div>
    <div style="width: 50%; display: inline-block; text-align: center; font-size: 1.2rem; cursor: pointer;" class="submit-poll" data-answer="Yes">YES 🤓</div>
    <div style="width: 50%; display: inline-block; text-align: center; font-size: 1.2rem; cursor: pointer;" class="submit-poll" data-answer="No">No 🥱</div>
  </div>
</div>
As simple as that.
Just define your question or title of the poll: note the data-poll attribute.
This is the name of the Event that will be tracked and displayed on the Plausible Analytics Dashboard.
The attribute data-answer represents the value of the event. Use this to distinguish between the multiple results of your poll / survey.
Client side JavaScript
The code needed to get the poll going is this:
function handlePoll (poll = [...document.querySelectorAll('[data-poll]')]) {
  if (Array.isArray(poll)) return poll.forEach(handlePoll)
  if (typeof window.plausible !== 'function') return poll && poll.parentNode && poll.parentNode.removeChild(poll)

  const pollName = poll.getAttribute('data-poll')
  if (!pollName) return poll && poll.parentNode && poll.parentNode.removeChild(poll)

  const storageKey = 'poll' + pollName + window.location.pathname
  if (localStorage.getItem(storageKey)) return poll && poll.parentNode && poll.parentNode.removeChild(poll)

  const $submit = [...poll.querySelectorAll('[data-answer]')]
  $submit.forEach($s => {
    $s.addEventListener('click', function (event) {
      const pollAnswer = event.target.getAttribute('data-answer')
      console.log('clicked submit-poll', pollName, pollAnswer)
      poll.innerHTML = `
        <h2>Thanks for your feedback</h2>
      `
      window.localStorage.setItem(storageKey, true)
      window.plausible(pollName, { props: { Answer: pollAnswer }})
    })
  })
}

handlePoll()
Just call handlePoll() and all elements with a data-poll attribute will be turned into privacy-friendly polls, using Plausible Analytics behing the scenes!
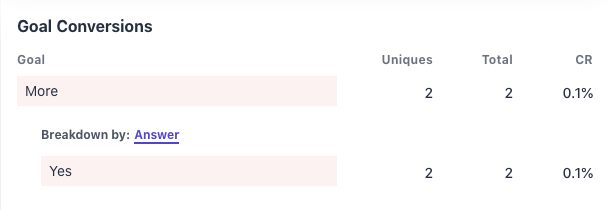
Viewing the poll
On the dashboard, you will see something like this if you dig into the Goal Conversions section: